I have been working with Z-Arts and Crumpsall Lane Primary School in Manchester, creating story telling pieces for the schools reception class. Its been really wonderful and tomorrow we go into our third week of the project based on the collections of Brother’s Grimm, and this week we are looking at Little Red Riding Hood or as Bro

ther’s Grimm called Little Red Cap.
This story has been re told and re told and re told, and I have a strong suspicion that the children will be very familiar with it. I think that each week they have bought there own colour and magic to the stories we have looked at (Musicians of Bremen and Hansel and Gretel.) That is why working with these traditional stories is such a gift because they can be re told in so many different ways. As a story teller, I love the immediacy of the retelling. The audience being very active in shaping how the story looks and feels. These stories are so beautifully simple but it is quite easy to overlook them.
I also provide lesson plans in arts crafts for further exploration of these stories in the class in the week that follows. I’d thought I’d pass on one of the craft exercises in this weeks lesson plan. You can never have too many resources available!
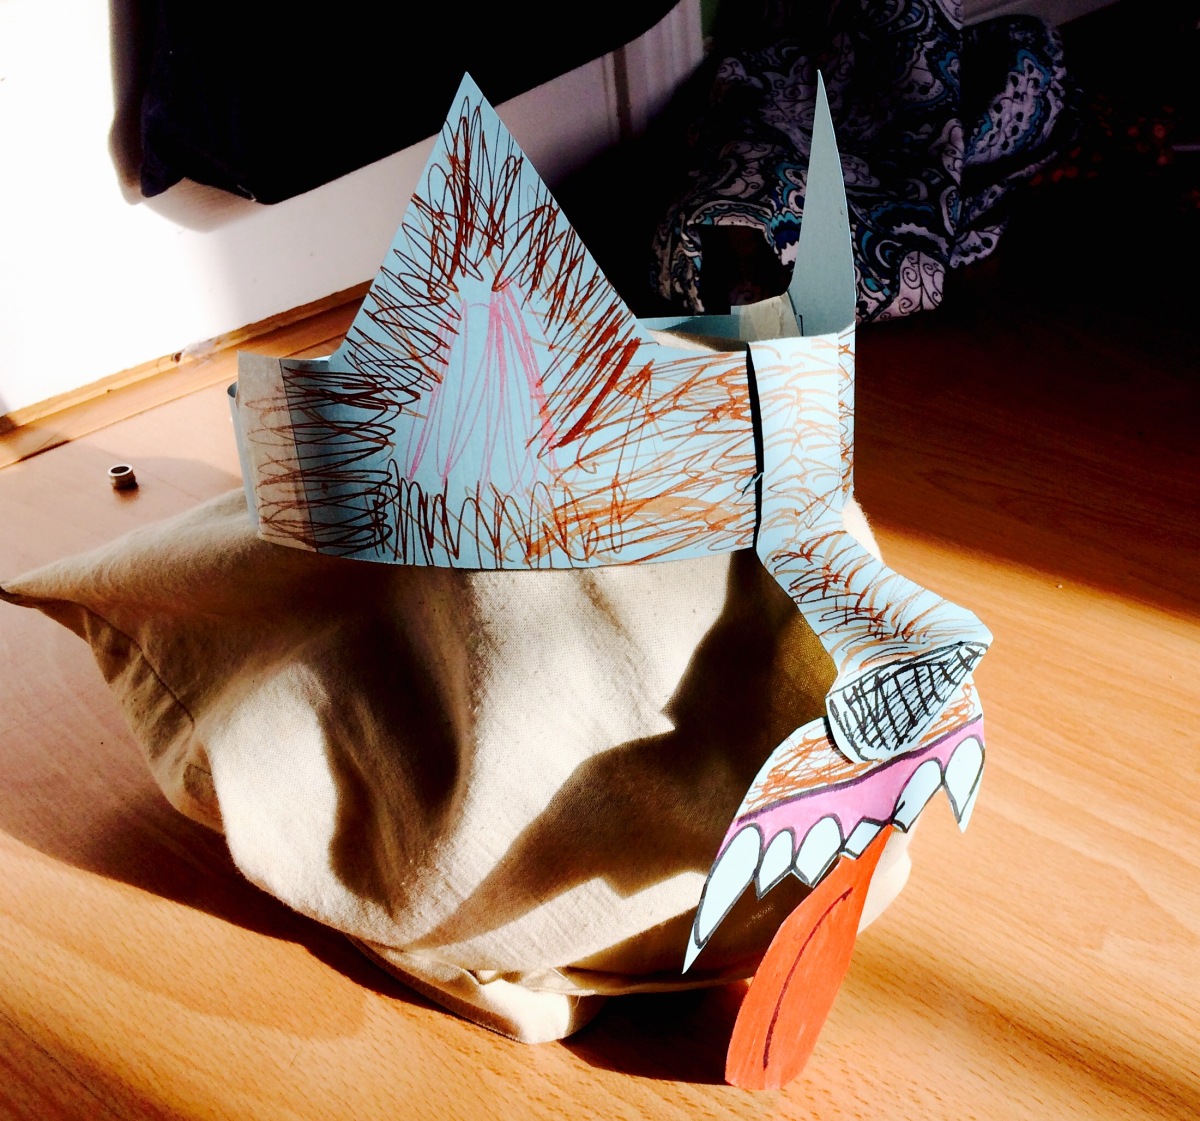
Wolf Mask

First things first, copy the above template for each of the components in the mask and cut them out. I made the mistake of putting it all together before I coloured it in, which made it much harder to build, the above image is on an A4 piece of paper. You could print it directly onto card if you’d prefer. An extra task for the children , could be to draw around pre cut provided templates and see if they could get them to fit it onto a sheet of A4 card.
The decorating is worth spending time on as the masks look so much better as a result. I kept my decoration very simple and only used felt tip, but I think the mask would come alive even further with some fake fur or felt or if the teeth were very shiny….
Stick the front and the back thin pieces together. I used masking tape to stick the pieces together, that way I can adjust easily to the circumference of head that is resting on. I then
took the nose piece and folded along each of the dotted lines.

I attached part one, by folding over the top of the front piece of headband in the middle of the ears and secured with tape.
I then attached the mouth piece behind section 2 of the nose and then the tongue behind the mouth.
Nice and straight forward. Now you can howl at the moon and be big, bad and scary!
Be sure to Tweet or Instagram the results!

